Memory Validator Tutorials
Filter using object type
This tutorial assumes that you have read the memory leak tutorial about detecting memory leaks and that you have built the sample application. If you have not done this, please do so before continuing with this tutorial.
This tutorial demonstrates how to prevent the display of specific datatypes, by using a filter to control the data on the display. The filter can be inverted, thus converting the filter from “display anything not matching this filter” into “only display items matching this filter”.
- Start your program using Memory Validator’s launch program option.
 The launch application wizard displayed.
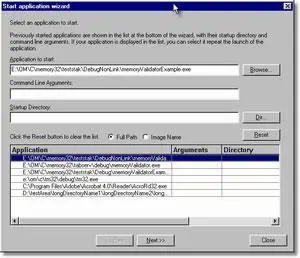
Select [installdir]\nativeExample\debugNonLink\nativeExample.exe using the Browse… button. Accept all default settings and move through all pages of the wizard to the last page. Click the Start Application button.
- Use nativeExample.exe as normal.
- Using Memory Validator, select the Memory tab and click Refresh. The display will show all allocations made by the application that have not been deallocated. The display will look similar to this:
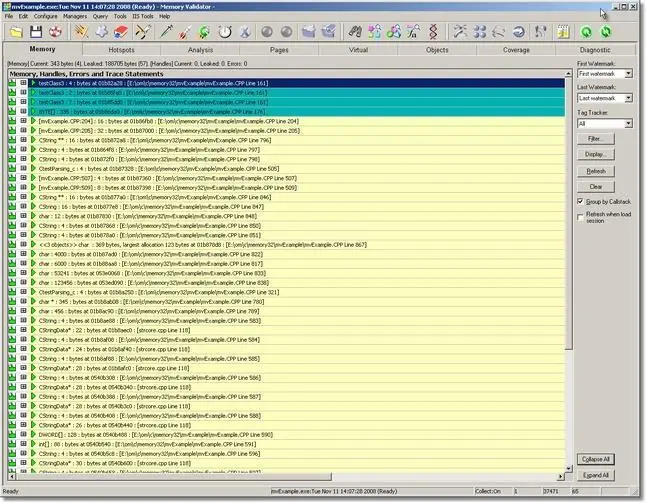
- Click on an entry with the right mouse button. A context menu will appear. Using the Local Filters popup select Custom Filter….
 The custom filter dialog will be displayed.
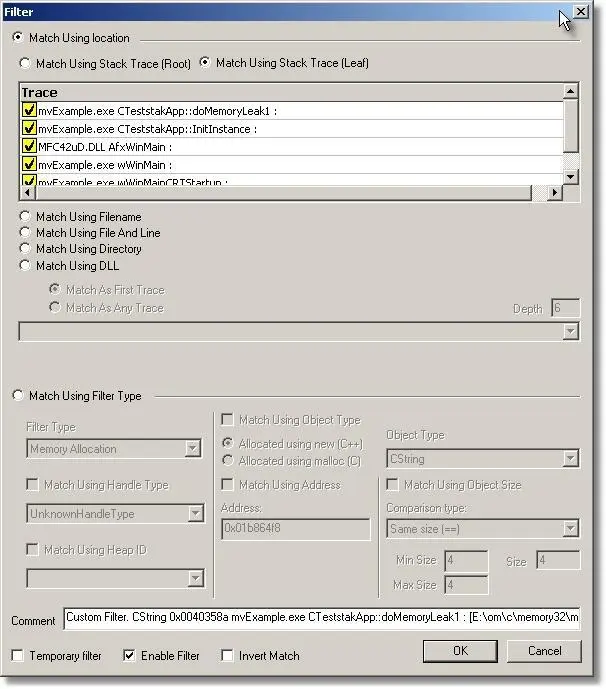
- Select the Match Using Filter Type radio box.
Using the Filter Type combo box, select Memory Allocation.
Check the Match Using Object Type check box.
Select the CString object type in the Object Type combo box.
The custom filter dialog should look similar to this image below: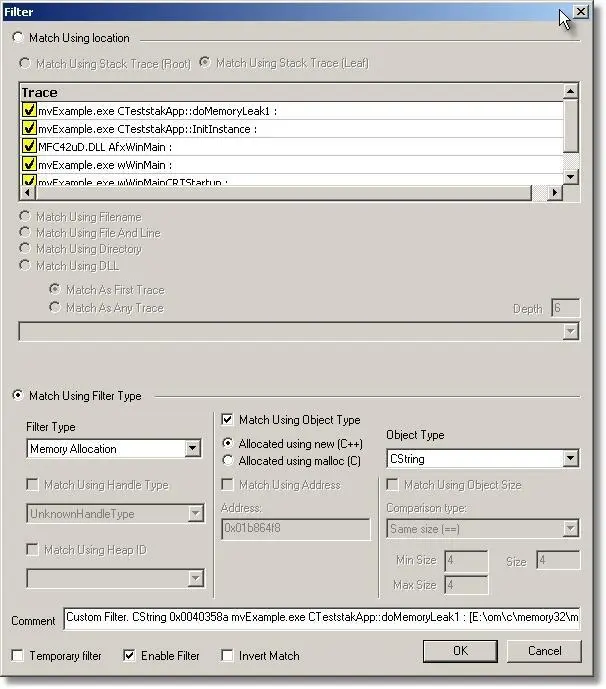
Click OK to accept the filter definition. The Memory tab display automatically updates.
Add some more filters for CStringData*, CPlex*, CRecentFileList types to remove the MFC types from the display.
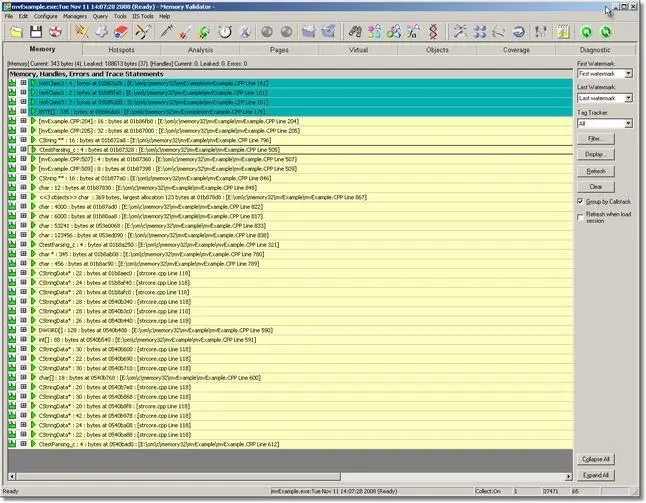
- As you can see, the display does not show any entries for the filename and line number chosen. You can create as many filters as you desire.
- If you wish to change the filtering effect so that you see the data the filter selects and do not see the data the filter ignores, you can edit the filter and then check the Invert Filter check box at the bottom of the dialog. This option makes the filter display matches rather than hide matches.To edit the local filters.
- Click on the Filter… button.
- Double click on the filter in the list to display the filter definition dialog. Alternatively select the filter, then click the Edit… button.
- Modify the filter and click OK or Cancel as appropriate.
- Edit any other filters.
- To see the effect of the filter, click Apply.
- To accept the filters, click OK.
- To discard the filter edits, click Cancel.
To edit Global or Session filters you must use the Filter Manager, available from the toolbar or the Managers menu.
- Local filters affect data displayed on their display tab.
- Session filters affect data displayed for a particular session.
- Global filters affect data in all sessions on all displays.
