How to Install Intel One Mono fonts on Windows
Recently Intel introduced the One Mono font, which is intended to reduce eye strain and to be superior for use by people with vision difficulties.
Sounds great. What puzzled me was that I couldn’t find any instructions for installing these fonts on Microsoft Windows.
I thought I’d share the process to make life easier. It’s a few simple steps.
- Download the fonts from GitHub
- Extracting the fonts
- Installing the fonts
Downloading Intel One Mono
Go to Github’s One Mono font repository.
You should see something similar to this.

Download the items in red (click each one; they should download automatically).
Extracting the fonts
Once downloaded, open your downloads folder, then copy the downloaded fonts to a dedicated directory to store the fonts. I’ve chosen c:\Intel\One Mono.
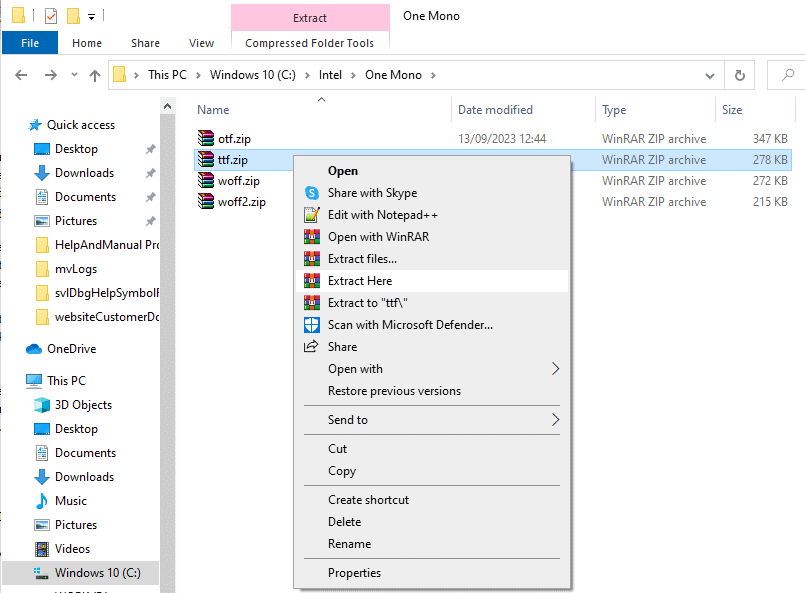
In your font directory right click on each zip file and choose Extract Here.
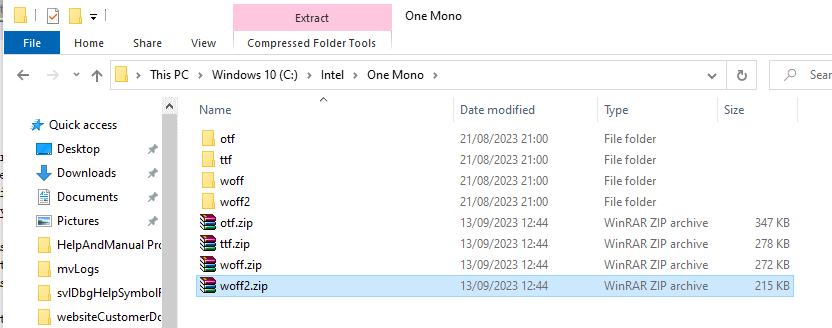
After they are extracted, your directory will look like this.
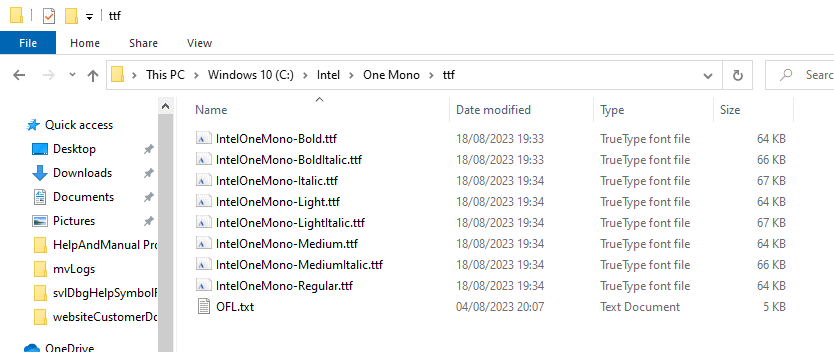
If we navigate into a font directory, for example, the ttf fonts, the list of fonts will look like this.
Installing the fonts
To install the fonts, open the Windows Font Settings by typing “font settings” into the search bar at the bottom of the screen.
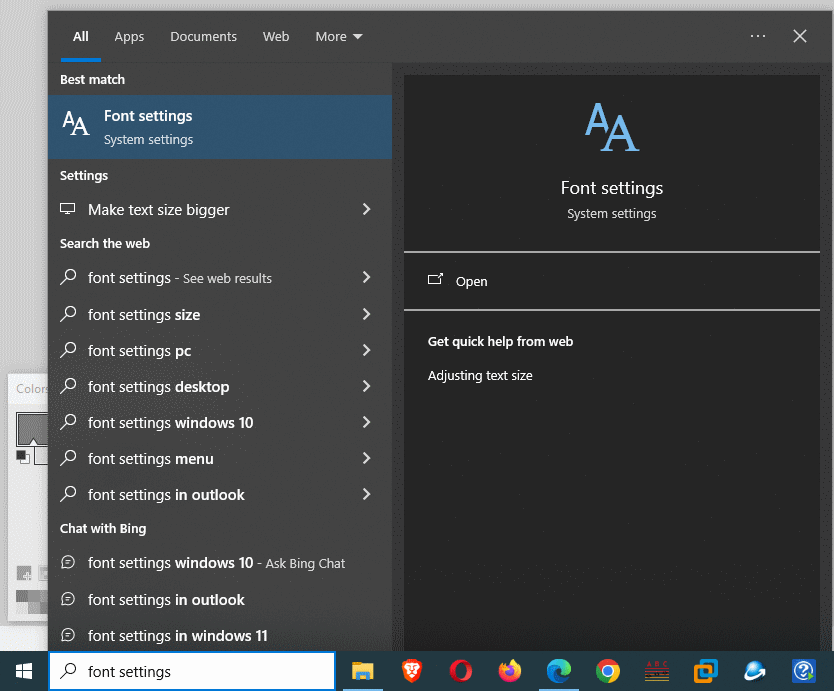
Then, choose the “Font settings” option on the menu.
The Windows Font settings will be displayed.
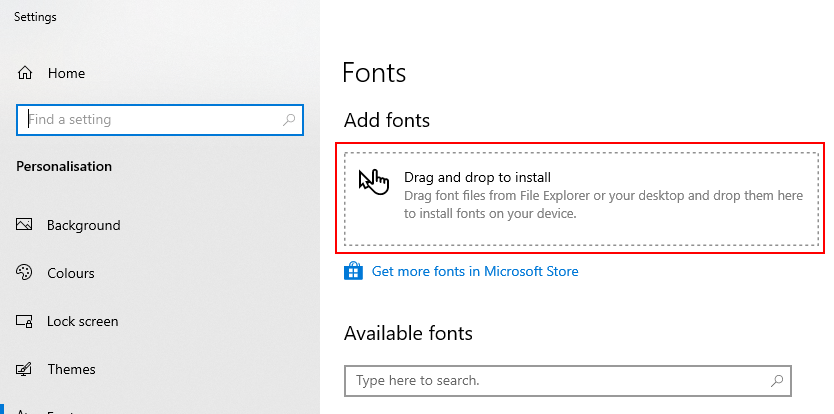
To install the Intel One Mono fonts, drag and drop the fonts from the directory where you extracted the fonts into the red area shown in the image above. You can drag and drop individual fonts or all the fonts at once.
Conclusion
Now that you’ve installed the Intel One Mono fonts, you can configure your favourite tools, or the main Windows fonts, to use the Intel One Mono fonts.