Code coverage with NUnit and Coverage Validator
In this blog post, I’m going to give you an example of running .Net unit tests with NUnit and Coverage Validator. It’s the same process for .Net Core and C++.
I’m going to show how to do this with NUnit 2.7.1, but this method will work with any version of NUnit, 2.x or 3.x.
nunit-console.exe
We’re going to be testing with the console version of NUnit, nunit-console.exe. The program that runs the tests is nunit-console.exe, not a child process, so unlike working with VS Test, we don’t have to configure the application to monitor.
Video or step-by-step
I’ve created a video showing you how to configure Coverage Validator, but if you prefer step-by-step instructions, these are listed below the video in this blog post.
Coverage Validator
To get started we need to launch nunit-console.exe to run the tests.
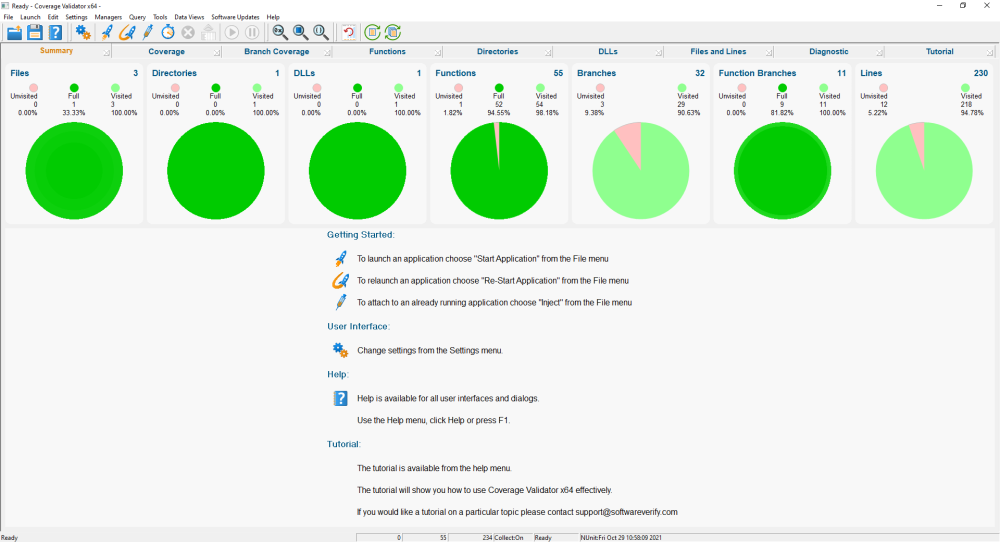
![]()
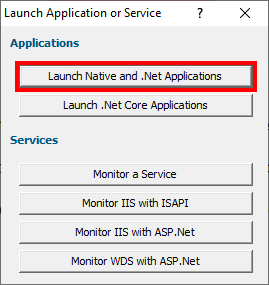
Click the Rocket icon on the toolbar. This will display the Launch Application or Service dialog.

Choose Launch Native and .Net applications.
nunit-console.exe is a .Net application, so we’ll use the regular .Net and native launcher.
You can also launch using Launch->Applications->Launch Application…, or F4, these will take you straight to the launch dialog/wizard, skipping the previous dialog.
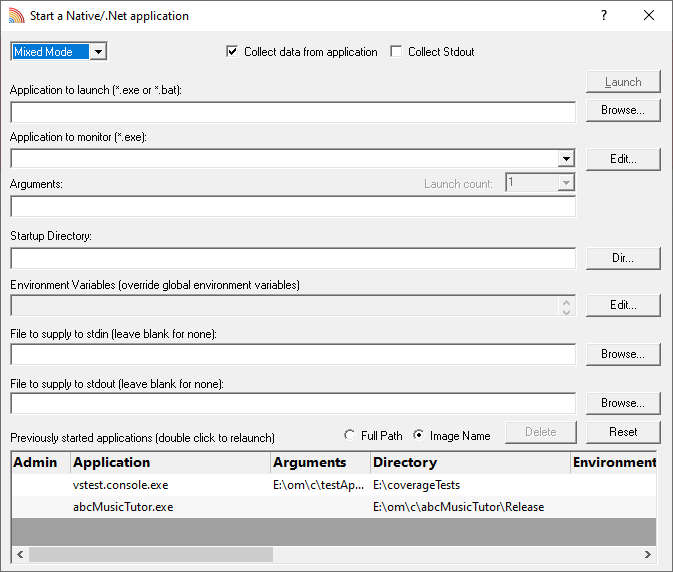
The Start a Native/.Net application dialog is displayed.

Now we have to configure the start application dialog. We’ve got to:
- choose the application to launch
- set the unit test DLL to test
- set the startup directory
- Set the application to launch.
Next to the Application to Launch field click Browse… and select your nunit-console.exe
Example: E:\om\c\3RD_SRC\nunit\NUnit 2.7.1\bin\nunit-console.exe

Note the that after editing the Application to Launch field the Application to Monitor field will auto-populate itself, choosing a default value for the application to monitor. For our purposes the default value should be identical to the application to launch.
- Arguments:
Enter the full path to your DLL to test. In this example I’m going to test the Money.Tests.dll unit test DLL in the C# samples master which you can download from GitHub. Example: E:\om\c\3RD_SRC\nunit\nunit-csharp-samples-master\nunit-csharp-samples-master\money\bin\Debug\Money.Tests.dll

- Startup Directory:
Enter a path for the startup directory. A default will have been set based on the Application to Launch, but for unit test work you’ll need a writeable directory, so you’ll need to edit this value to something appropriate.

- If you’re using the Launch Dialog click Launch.

If you’re using the Launch Wizard click Next until you get to the last page of the wizard then click Start Application.


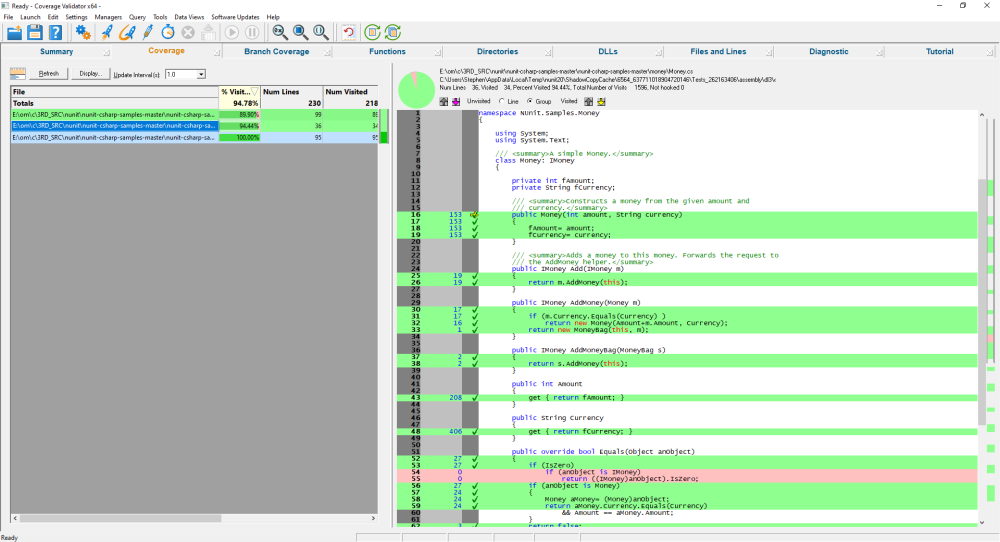
Results
For the test I’ve configured in this blog post, the results show code coverage for the unit tests.
There is no test framework code to filter out, no autogenerated code to filter out, just the results.
If you want to see how to filter results, take a look at the VS Tests code coverage article.


Any questions?
Hopefully this blog post has answered your questions about how to get code coverage with NUnit and Coverage Validator.
But you may have other questions. Please let us know at support@softwareverify.com and we’ll be pleased to help you.