Collections are groups of projects (not unlike a Visual Studio solution), except that they can include multiple projects with the same name.
The first task you face is building the collection of projects. You can do that two ways:
•Adding projects from individual solutions
•Scanning directories for solutions and adding the projects referenced in the solutions
Depending on your directory structure and how you manage your projects/solutions, one method may work better for you than the other.
You can mix both scanning directories and adding individual solutions to create a collection. There is no requirement to use only one method to create a collection.
Add projects from a solution
Use the following steps to add projects from a solution to a collection.
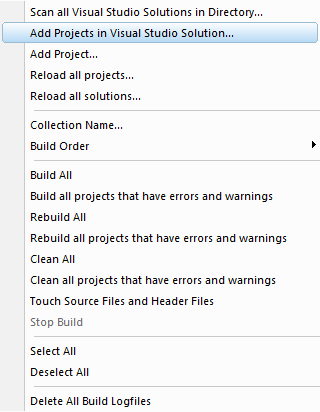
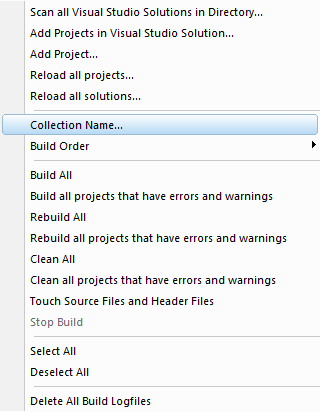
1. Choose the Add Projects in Visual Studio Solution... option on the Projects menu.
The Microsoft file browser will be displayed. Choose a solution to load.
2. All projects in the solution will be loaded and displayed.
Any projects identified by the project filters will be ignored.
Any project configurations identified by the project configuration filters will be ignored.
Individual project configurations will be enabled as per the project configuration default enable settings.
Repeat the above steps for additional solutions until all the solutions you wish to process have been added.
Add projects from a directory hierarchy
Use the following steps to add projects from a directory hierarchy to a collection.
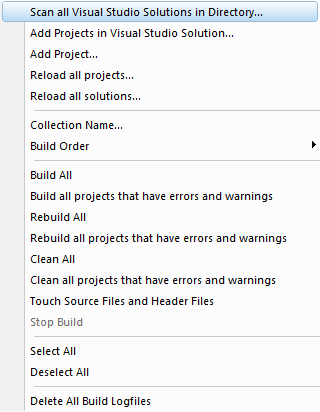
1. Choose the Scan all Visual Studio Solutions in Directory... option on the Projects menu.
The Scan Directories dialog will be displayed
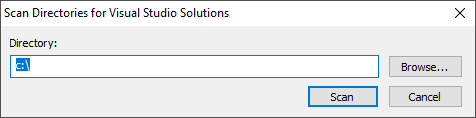
Type the directory path or click Browse... to use the Microsoft directory browser to choose the directory.
2. The directory hierarchy you have specified will be scanned for solutions.
During the scan a progress dialog is displayed.
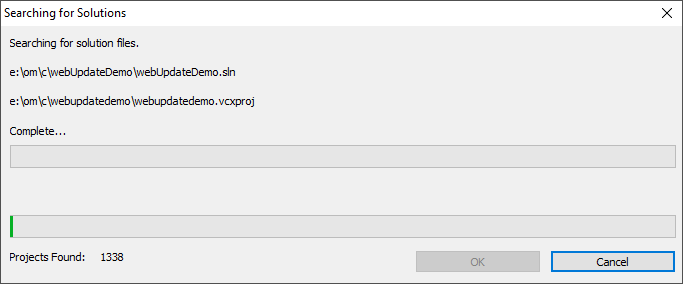
3. All projects in each solution will be loaded.
Any projects identified by the project filters will be ignored.
Any project configurations identified by the project configuration filters will be ignored.
Individual project configurations will be enabled as per the project configuration default enable settings.
4. When the scan is complete you need to confirm that you wish to add the projects to the collection.
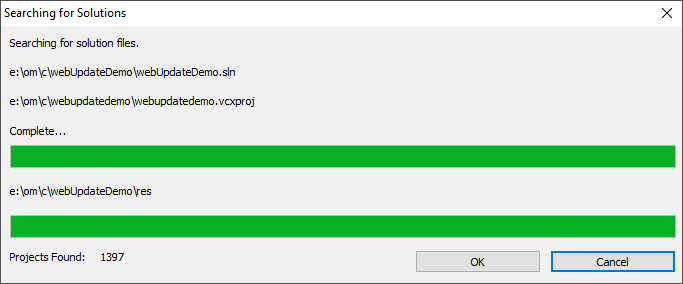
OK to add the projects. Cancel to discard the projects.
5. If you confirmed adding these projects to the collection, the projects will be added, sorted according any build order preference you have specified, then displayed on the main user interface.
Repeat the above steps for additional directory hierarchies until all the solutions you wish to process have been added.
Naming your collection of projects
Once you have created a collection of projects you may find it useful to give it a name.
Choose the Collection Name... option on the Projects menu.
The Collection Name dialog will be displayed.
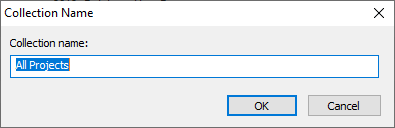
Enter the name for your collection then click OK.
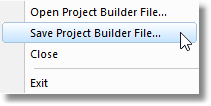
Saving your collection of projects
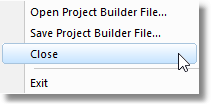
To save your collection of projects choose the Save Project Builder file... option on the File menu.
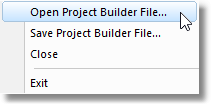
Loading an existing collection of projects
To load a previously saved collection of projects choose the Open Project Builder file... option on the File menu.
Starting over
To remove all projects and start again, choose the Close option on the File menu.